FAQ
Getting Started #
Compatible Hardware
ION will run on any UVC (universal video class) compliant device, which means most webcams will work out of the box. Installing manufacturer drivers may be necessary to control focus, white balance, and zoom. Video devices that require additional software to function as a webcam may work - however they are not officially supported.
Setting Up
Before starting, you will want to mount your webcam in a stationary manner, approximately 12-24 inches above your work area. If you have multiple webcams, you will either be prompted to select one at startup, or manually specify an override device number in the preferences menu. These numbers are assigned at system boot, or as they are detected by your operating system. Laptop internal cameras are generally given priority (#0), while external cameras are numbered sequentially after that. If you find your computer is slowing down when the camera feed is active, it may be necessary to reduce the scanning resolution and/or frame rate in the camera settings tab of the preferences.
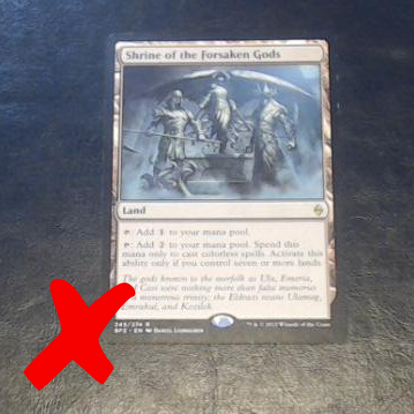
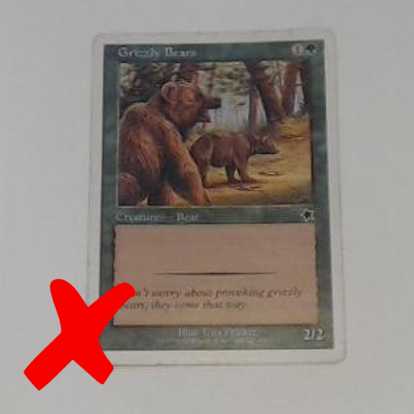
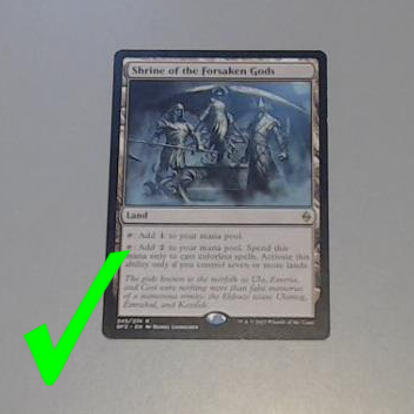
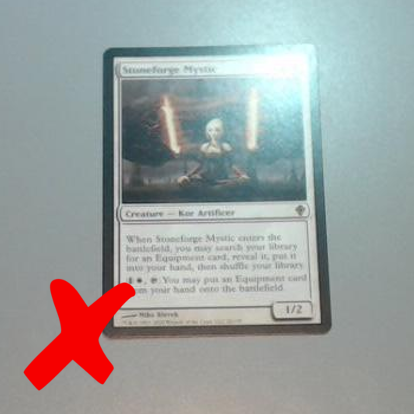
The scanning surface should be a solid color and provide good color contrast with the border of the cards being scanned. White borders will not scan effectively on a white surface, and vice versa for black bordered cards. Direct lighting at the surface should be minimized, as it will cause strong glare which can heavily interfere with card detection.
Scanning #
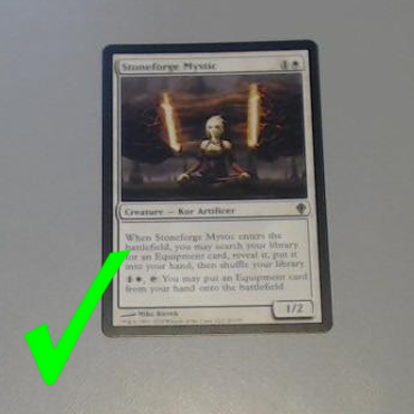
When your camera is mounted and your camera feed is visible, you are ready to begin scanning cards. Card detection occurs in several discrete steps, which are as follows:
- Waiting for a stable frame. If there is continuous motion (or light flicker) in the field of view (FoV), scanning will not begin. Make sure your hands are clear of the frame and the camera is mounted securely. If the frame is not stable, the circle indicator in the video feed will be red. If a stable frame cannot be read, increase the Noise Tolerance in the camera tab of the preferences
- Edge detection. If an edge of the card is obscured, or contrast is poor, ION will not be able to proceed with scanning. While it is searching for edges or waiting for card input, the circle indicator will be blue.
- Art Matching. Once a card has been detected, the detected boundaries will be drawn in the preview window briefly and the artwork of the card will be isolated and looked up in a database of all known cards. If a suitable card is not found, the indicator will flash yellow. If the card is in sleeves, and the detected edges are actually the outer perimeter of the sleeve, check the 'Dark Sleeves' box to improve classification accuracy. Increasing the Similarity Threshold in the preferences will make it more likely to return a match, but will greatly increase error rates (Default = 6)
- Set Estimation. When a matching card is found, if that card appears with the same/similar artwork in multiple sets then ION will return all versions of the card. The non-artwork portions of the scanned card will be compared to all known versions of the card, and the list of returned cards will be sorted from best to worst match. The accuracy of this step varies greatly across lighting conditions and between hardware devices. Potential matches with mismatched border colors are moved to the bottom of the list and grayed out - Note that cards with irregular border colors may be sorted in error (7th edition foils have a black border, while their opaque counterparts do not).
To prevent cards from certain sets from being recommended by the set estimation step, remove them from the active sets list via the Scanning menu. Disabled sets will appear grayed out and will only be returned as the top suggestion if no active sets contain the scanned card.
Hotkeys #
- SPACE: Move card from buffer to working inventory
- SPACE: Increases the quantity of the last scanned card by 1 if no card is in the buffer
- BACKSPACE: Reduce the quantity of the last scanned card by 1 if no card is in the buffer
- ESC: Clear the buffer without adding its contents to the working inventory
- F: Mark the current buffer card as foil/non-foil
- ARROW KEYS: Change the edition of the card in the buffer
- +/= and -/_: Change the quantity of the card in the buffer
- NUMBER KEYS 1-5: Change the condition of the card in the buffer
- CTRL-Q: Sets keyboard focus to the quantity edit box
Inventory Management #
All cards managed by ION exist in one of 4 locations, which are as follows:
- Buffer: The current card being modified. When it is confirmed with the space bar, or another card is scanned, the buffer card is moved to the working inventory.
- Working Inventory: A list of all cards scanned in the current session, which have not yet been saved to file. These cards are both viewable and editable from the list view pane.
- Session Inventory: A list of all cards saved to the currently loaded file. These cards are viewable from the list view, but not editable
- Full Inventory: A list of all cards saved to .ion inventory files in the current directory (either that of the current file, or default location specified in the preferences)
When you save a session, the net change in all card quantities are saved to file. This means if you add a card, and later subtract it, the net change is zero and the card will not be included in the created file (Unless serial mode is activated - see below). Upon start up, and whenever sessions are saved/loaded, the value of the total inventory is calculated based on the most current prices, ignoring cards with manually set prices. For very large inventories, or inventories distributed across many small files, this may take several seconds. If you do not want to save a short list of scanned cards to its own file, you can add the contents of your working inventory to the end of an existing file with the Append function. The quantity of all cards will be recalculated, and cards with a net quantity of zero will be removed (Unless serial mode is activated).
By default, all saved sessions are exported with the file extension .ion; these files are plain text format, and viewable in any text or spreadsheet editor, however, changing these files may potentially render them unreadable to ION, so this is not recommended. Ideally, these files should first be exported to a comma separated values file (Export -> Session/Inventory), which will create a copy of the existing list which includes all the available data. To customize the data exported to file, see the custom export section below.
Scanning Modes #
When scanning, there are 4 modes available, which are as follows:
- Addition Mode: Scanned cards are added to the working inventory. The history view shows the most recently added/modified card at the top. If you have 3 of a card in your working inventory and scan a 4th, the top history entry will read 4. Cards can be subtracted by inputting a negative value in the quantity input box.
- Subtraction Mode: Scanned cards are subtracted from the working inventory. If you attempt to subtract a card which is not found in the full inventory, a red warning text will appear on screen. Negative values in the quantity input will ADD a card.
- Information Mode: When active, no changes will be made to the working inventory while scanning cards.
- Serial Mode: When active, cards will be appended to the working inventory, and saved to file, in the order in which they are scanned. If you scan a card which already exists in the working inventory, a new entry will be created for this card. Appending a working inventory to file with this mode active will not combine quantities, they will be added to the bottom of the list in the order they appear.
Card Details #
While a card is in the buffer, you can edit the details of the card entry by pressing the details button in the main view. From here, you can change the cards details, such as its language (by default all cards are assumed to be English), condition, quantity, or even name/edition. Additionally, you may enter notes associated with the card, a URL, or mark it as an altered, signed, or promo. You can also edit the card details from the list view pane by pressing the '...' button. Hovering over this button will show a tooltip with any addition information that may be associated with the card. While a card is in the buffer, you can view all copies of the current card saved to files (either the current session, or any session in the current inventory folder) by navigating to the inventory tab of the list viewer.
Inventory Preview #
You can view a list of all cards saved to either the session (and working inventory), or full inventory (including session and working inventory) through the View menu.